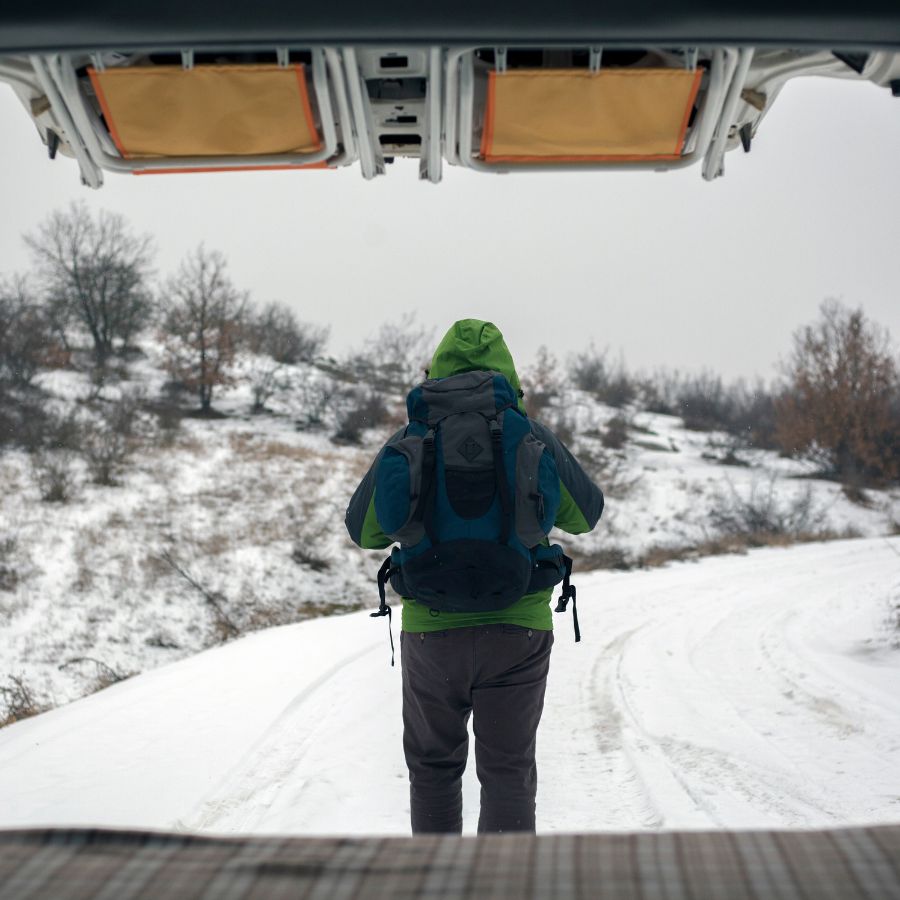
Winter is almost here, and for RV owners, it’s time to start winterizing your vehicle. Properly preparing your RV for the cold winter months is essential to prevent any damage and ensure it’s ready for your next adventure when spring arrives. Here are six tips to help you winterize your RV effectively:
1. Insulate Your RV:
One of the first steps in winterizing your RV is insulating it. This includes covering any exposed pipes, sealing cracks and gaps, and adding insulation to windows and doors. Insulating your RV will help keep the cold air out and the warm air in, making it more comfortable and energy-efficient.
2. Drain and Flush the Water System:
To prevent freezing and potential damage to your RV’s water system, it’s crucial to drain and flush all the water from the pipes, tanks, and faucets. Use an RV antifreeze to flush the system thoroughly, ensuring no water remains. This step is crucial to avoid expensive repairs due to frozen pipes.
3. Protect the Exterior:
Winter weather can be harsh on your RV’s exterior, so it’s essential to protect it. Thoroughly clean the exterior and apply a protective wax or sealant. Covering your RV with a specialized RV cover can also provide an extra layer of protection against snow, ice, and harsh weather conditions.
4. Check and Maintain the Batteries:
Cold temperatures can drain the charge of your RV’s batteries. Ensure they are fully charged before winterizing. It’s also a good idea to disconnect the batteries and store them in a dry, cool place. Regularly check the batteries throughout the winter to maintain their charge.
