
Located on the border of California and Nevada, Death Valley National Park is a place of extremes. It’s the hottest (134° F) and driest (1.3 inches of moisture per year) place in North America, the second lowest point in the Western Hemisphere (282 feet below sea level), and the largest national park in the contiguous United States.
It also features a fantastic range of habitats, ranging from 282 feet below sea level to 11,049 feet above. The park offers the unique and unusual, including ancient geology exposed to upheaval from within the earth to playas holding primeval stories and valuable minerals.
Death Valley is home to canyons curving through arid landscapes and flora and fauna that have adapted to thrive in harsh conditions. This is a destination for the curious, the hearty, and the exuberant because it requires close inspection and dogged resilience to celebrate the discoveries made where few dare to explore.
Why Visit Death Valley National Park in Your RV?
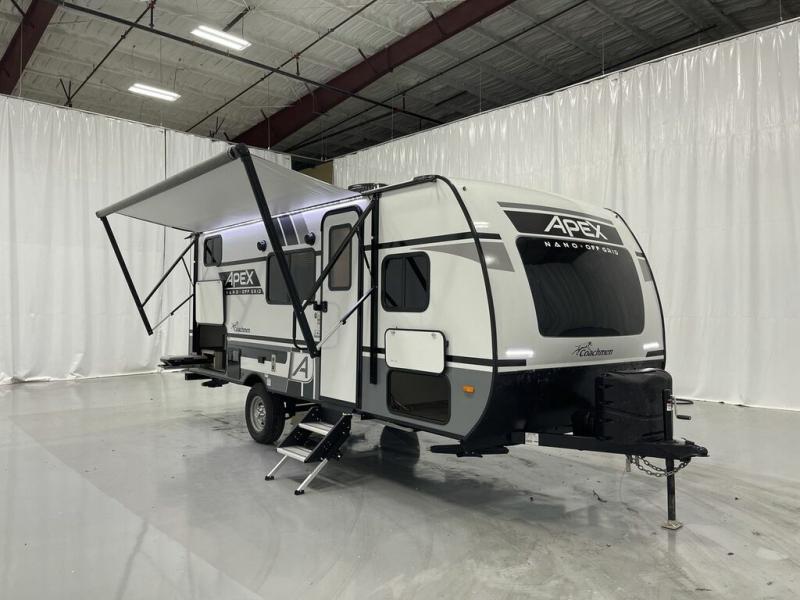
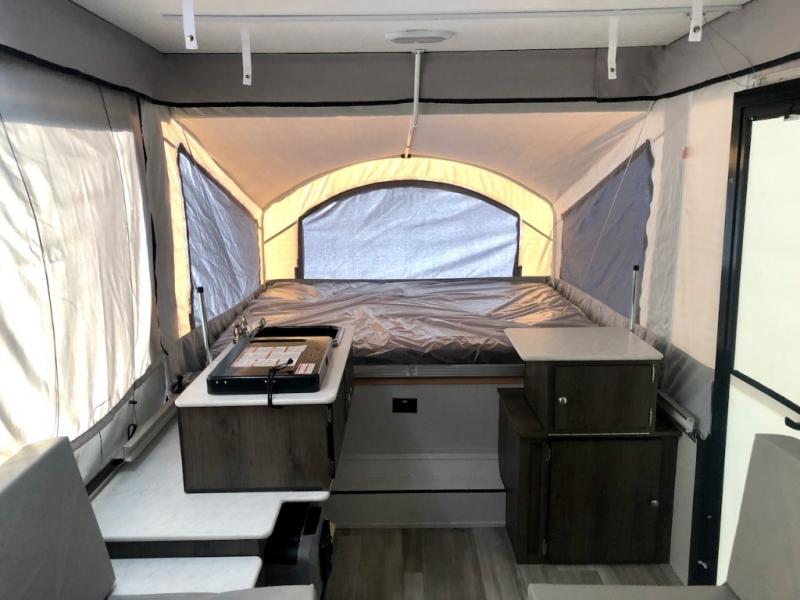
With all the extremes that Death Valley presents, why would you want to visit the park in your RV? As you venture from the lowest spot in the country to desert mountaintops, your RV home allows you to explore the park in comfort.
With a motorhome or travel trailer, you can bring your own shade and experience more of the park on your own schedule. In fact, many RVers stay for long stretches in this unusual place, exploring its many juxtapositions.

Copyright
© Camping World


